Painted Windows and Ready for Install
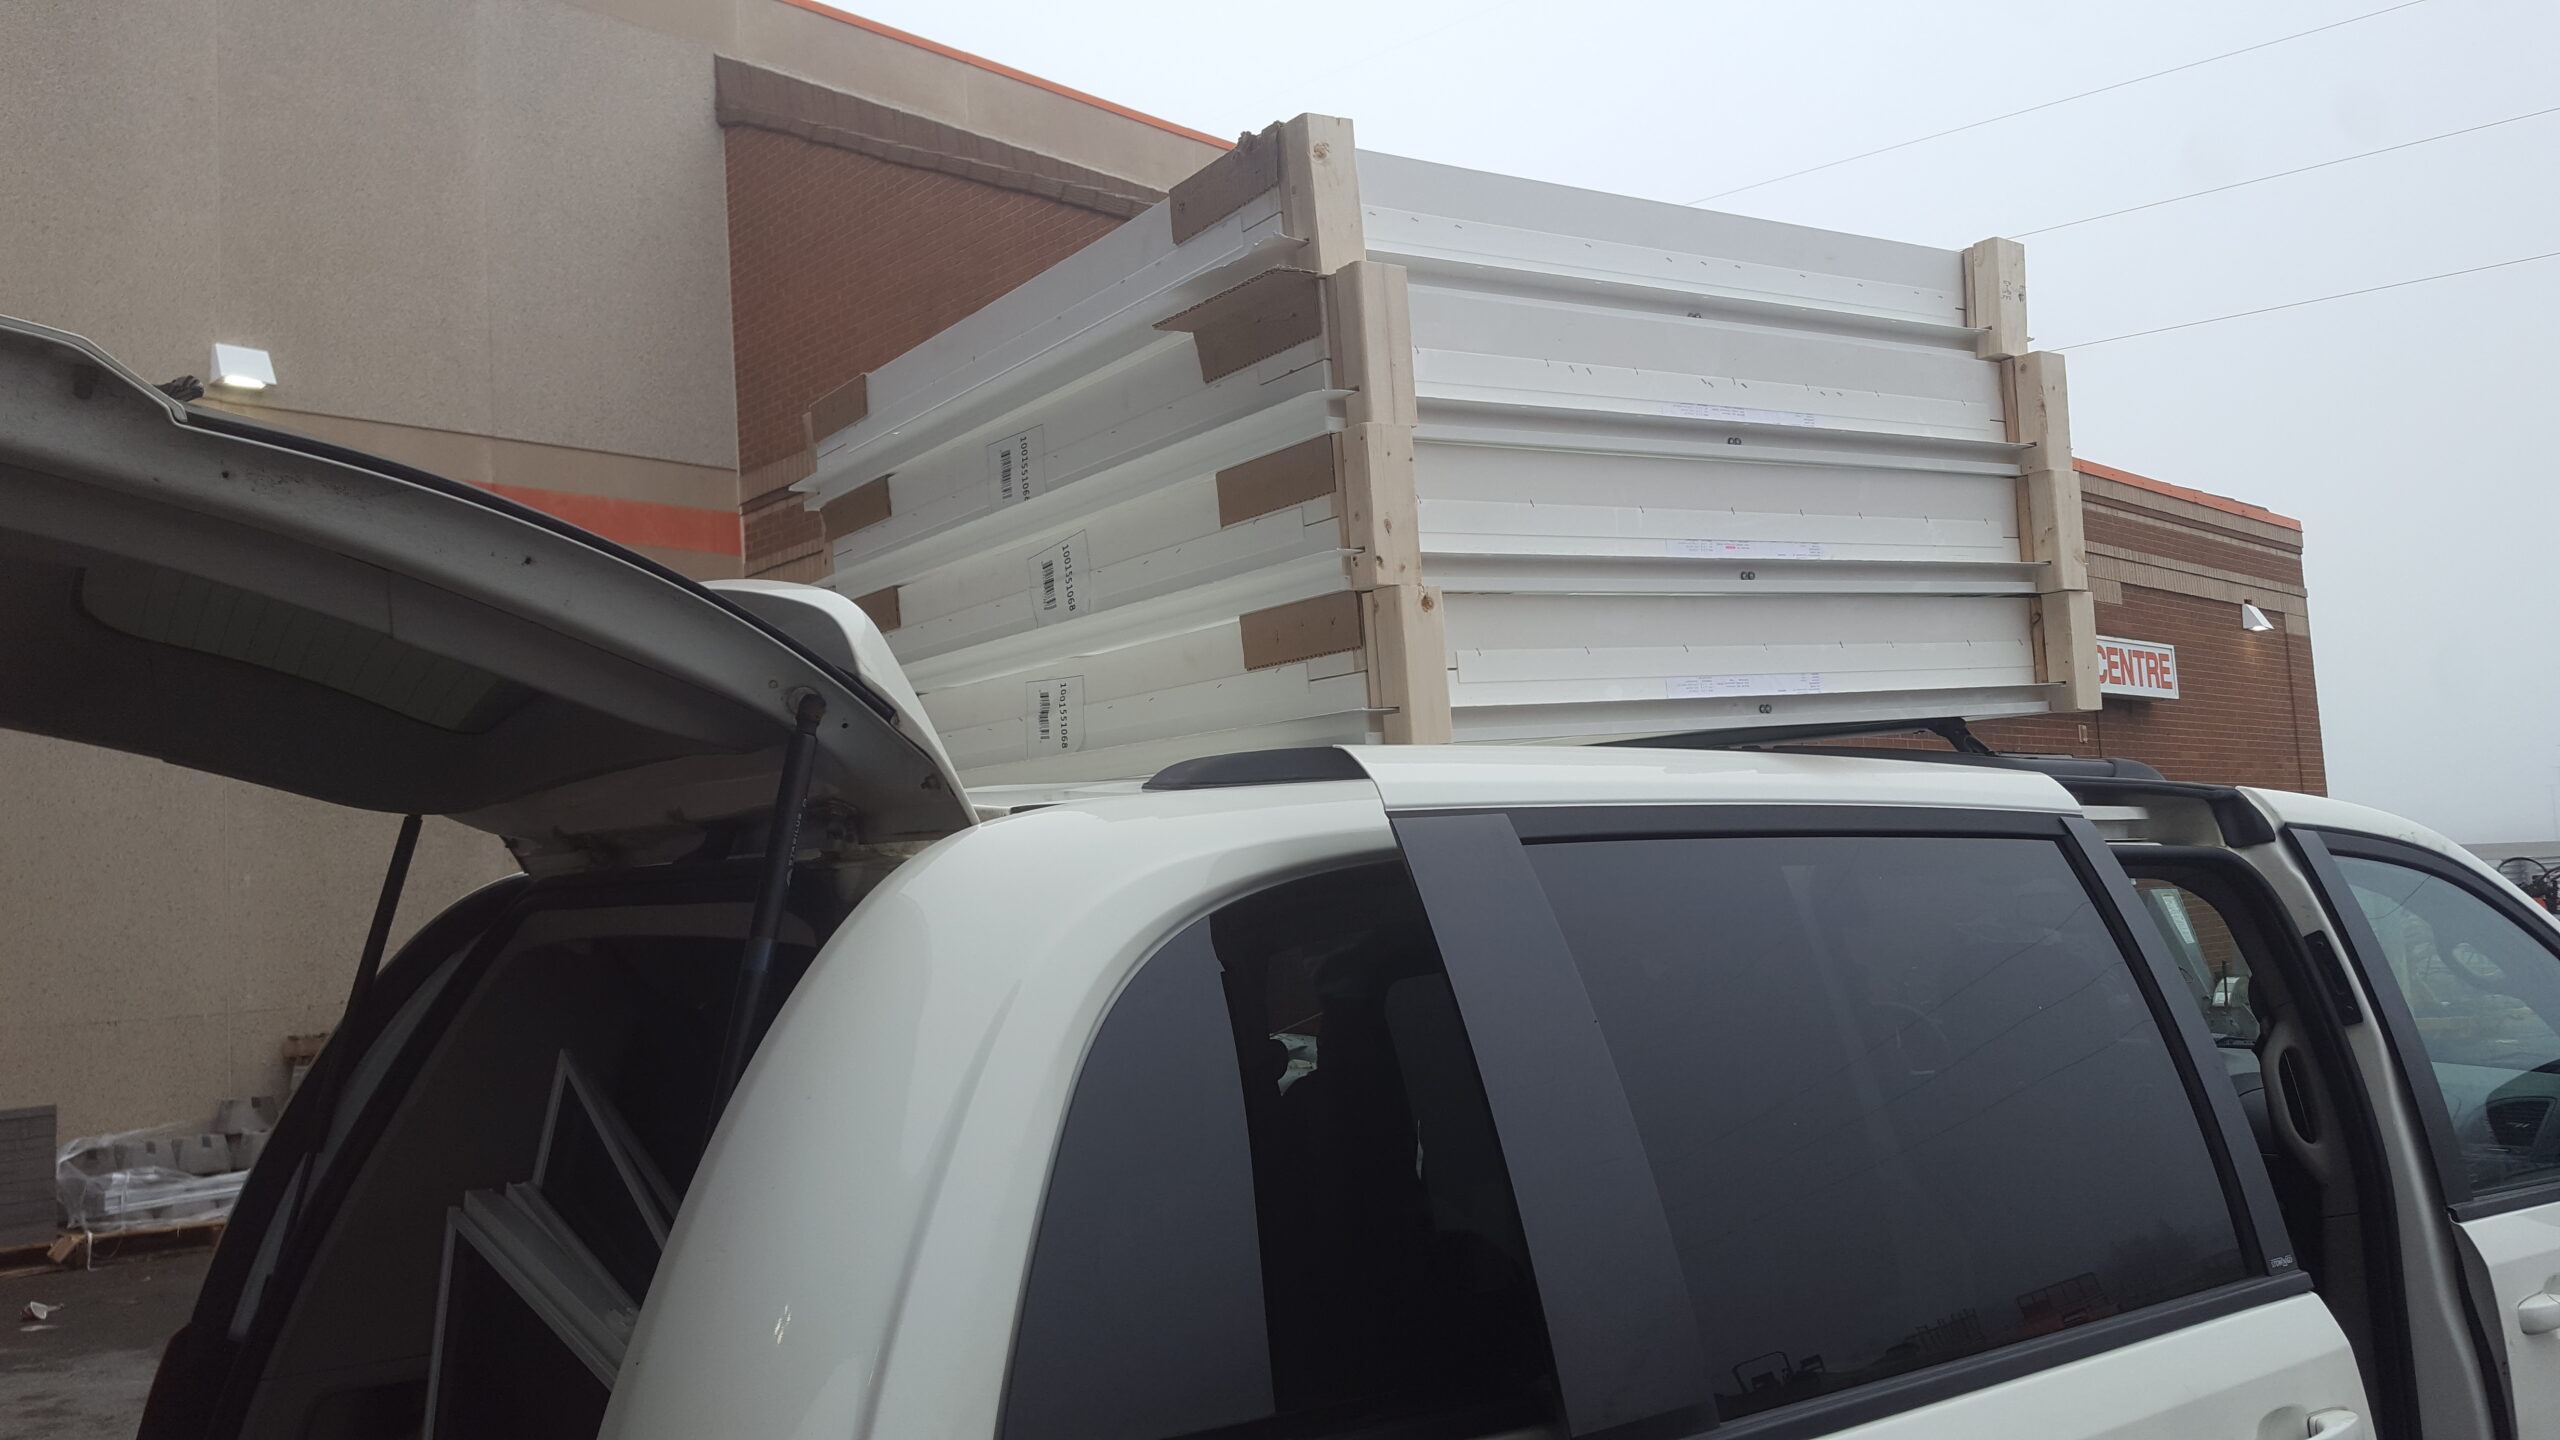
We had forgotten to mention that this month, we had gone to Halifax twice in two weekends to purchase a total of six new windows! Of course, we don’t have truck or a trailer to haul our windows home, so Michiel very carefully and strategically attached the windows on top of our van. It made for a loud trip home the first round. The plastic wrap around the windows, even though they were tightly bound, still made a ruckus during the three hour drive home. It would have been a good idea to remove the plastic before balancing them on the rooftop — in hindsight.

But, we made it home safely at dusk, with no issues, and driving at the maximum speed only.
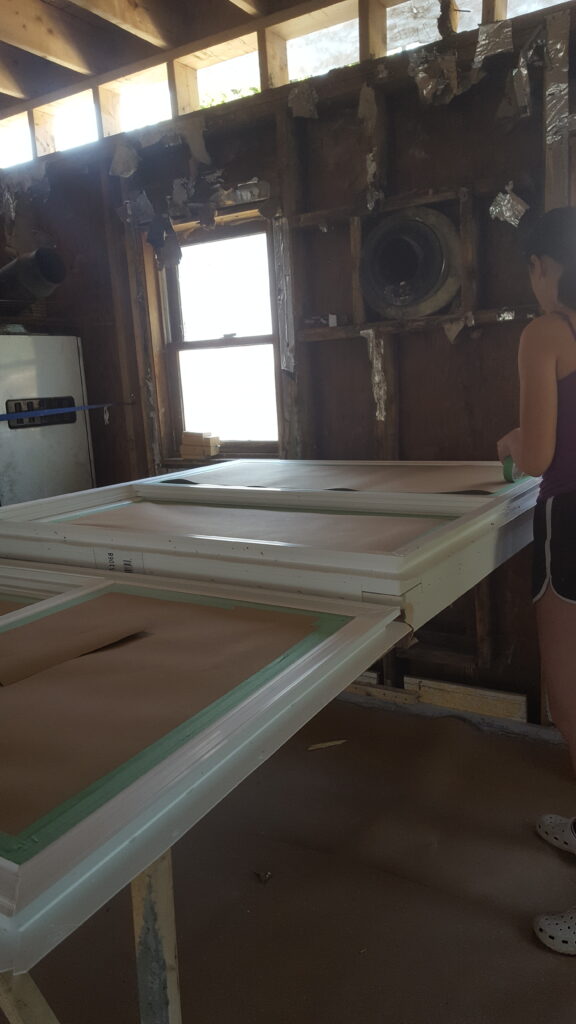
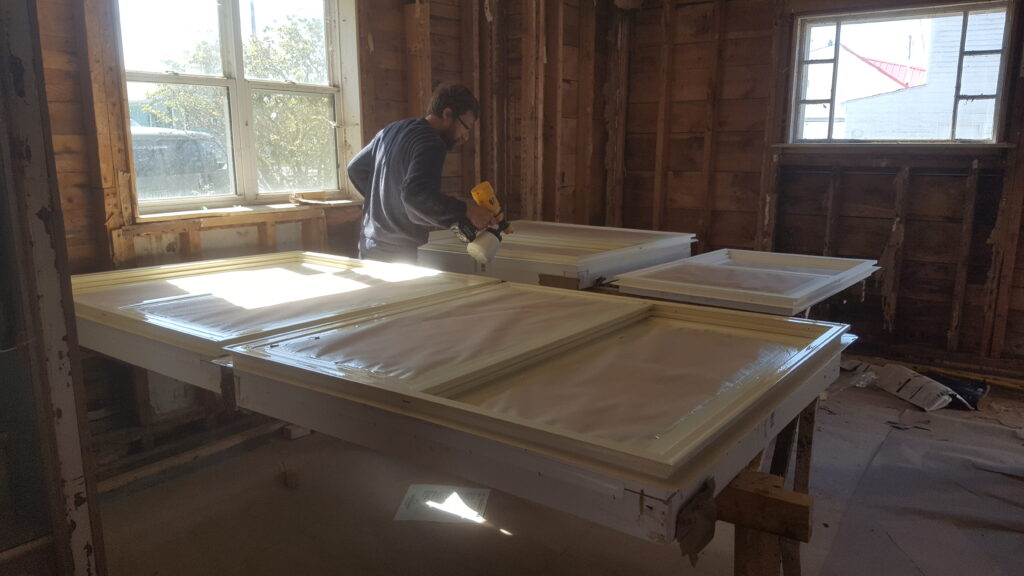
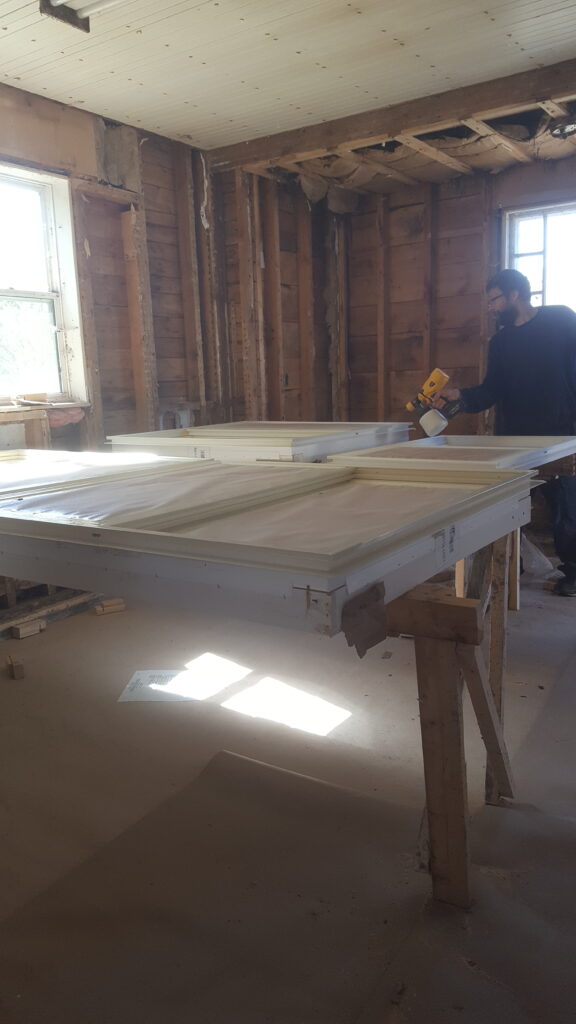
A few days after the concrete floor was poured, Michiel set to work building stands to hold the windows in place while he sprayed the frames with the same cream-beige colour that Opa and Oma had done last Summer. Since we have no intentions to move again — making this place our forever home, we wanted to make sure that the home’s exterior finer details were well thought through. We compared prices for coloured versus plain white frames for windows. The price difference between the two were so drastic that we decided to go for the more affordable option: white. And paint the frames ourselves.
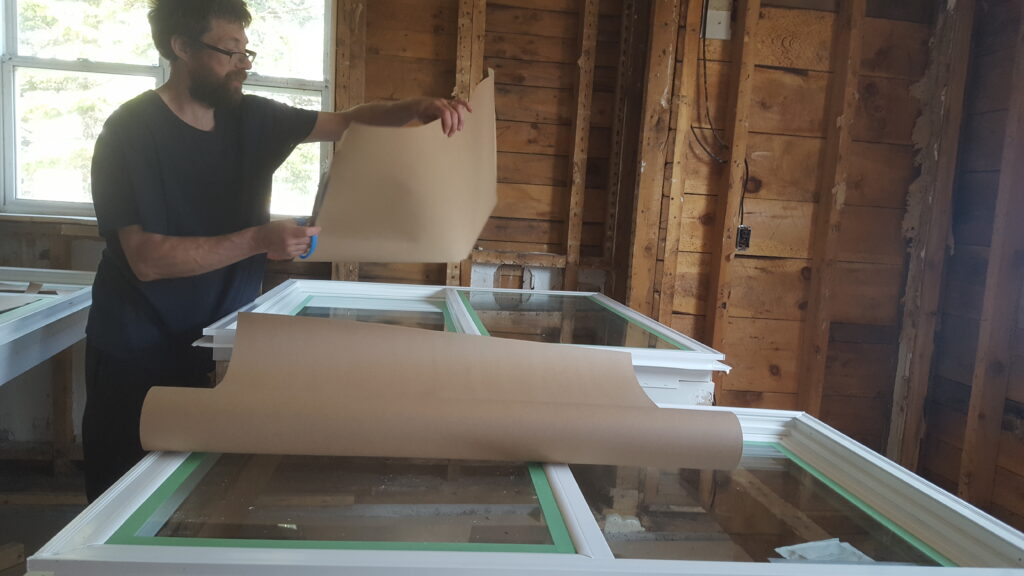
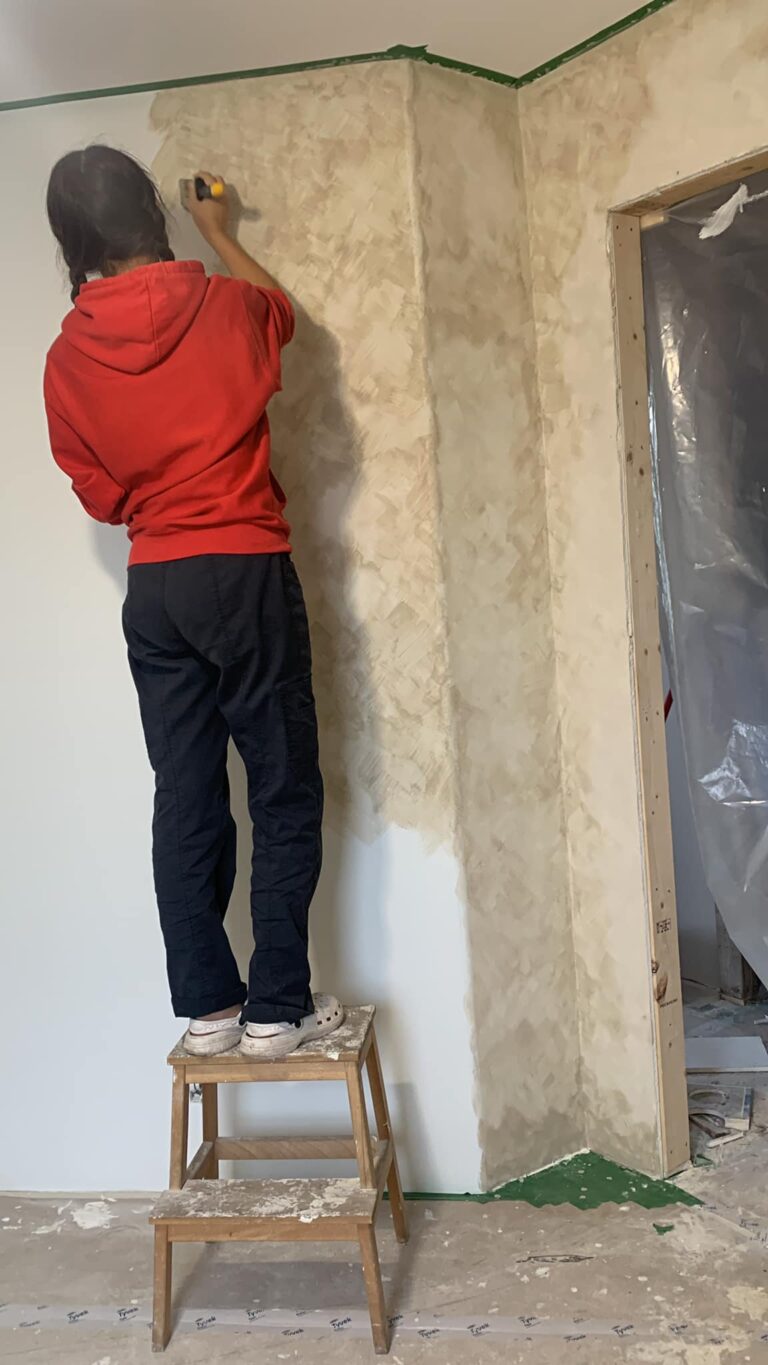
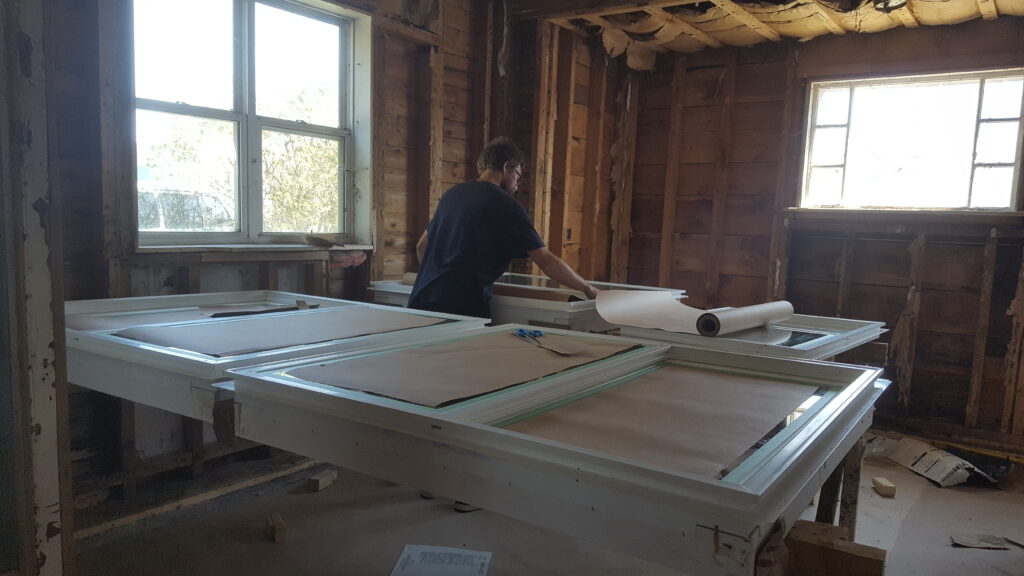
So, we were set to the task this week. While Michiel was out one morning doing a small side job, I prepared the windows by taping brown paper on the glass to expose only the surface where we wanted the paint to reach (the frame). Before applying coloured paint, we had to first spray a fresh coat of primer, so the final coats of coloured paint will adhere nicely to the trim.
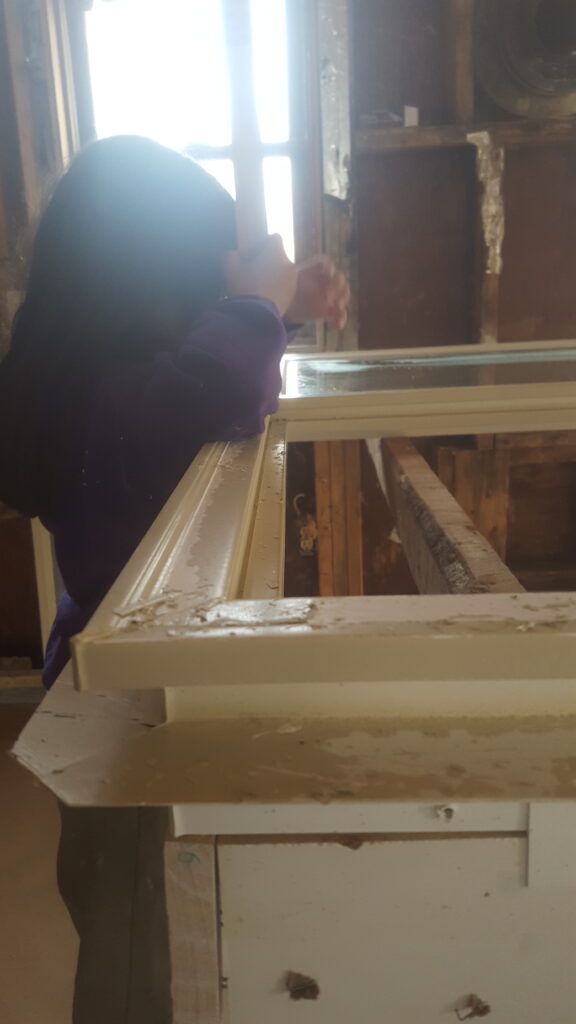
Our oldest had spared some of her time to come help us tape the windows in preparation for painting. The task was not complicated, just more time consuming having to make sure that the tape and brown paper covered the right areas before moving forward with spray painting. We were happy to have her help.

Interestingly, timing is of the essence, because if we miss painting the first coat of colour within the hour after the primer is applied, we would have to wait a full seventy-two hours before we could paint our first coloured coat. So, either paint the first coat of colour within the hour, or wait three days to do so. We made sure our first coloured coat was done within the hour!
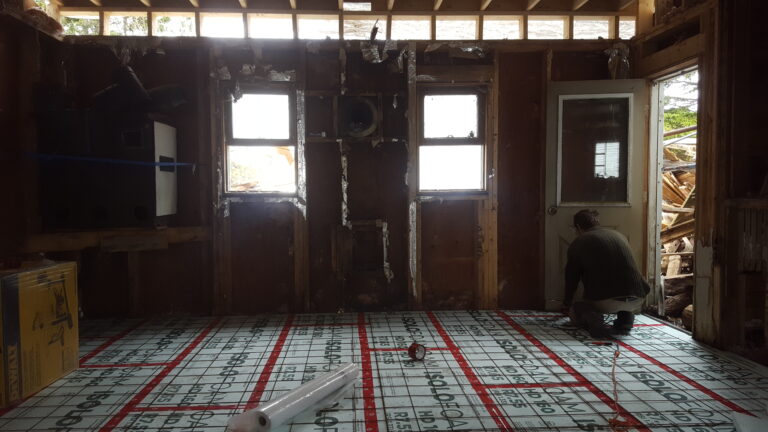
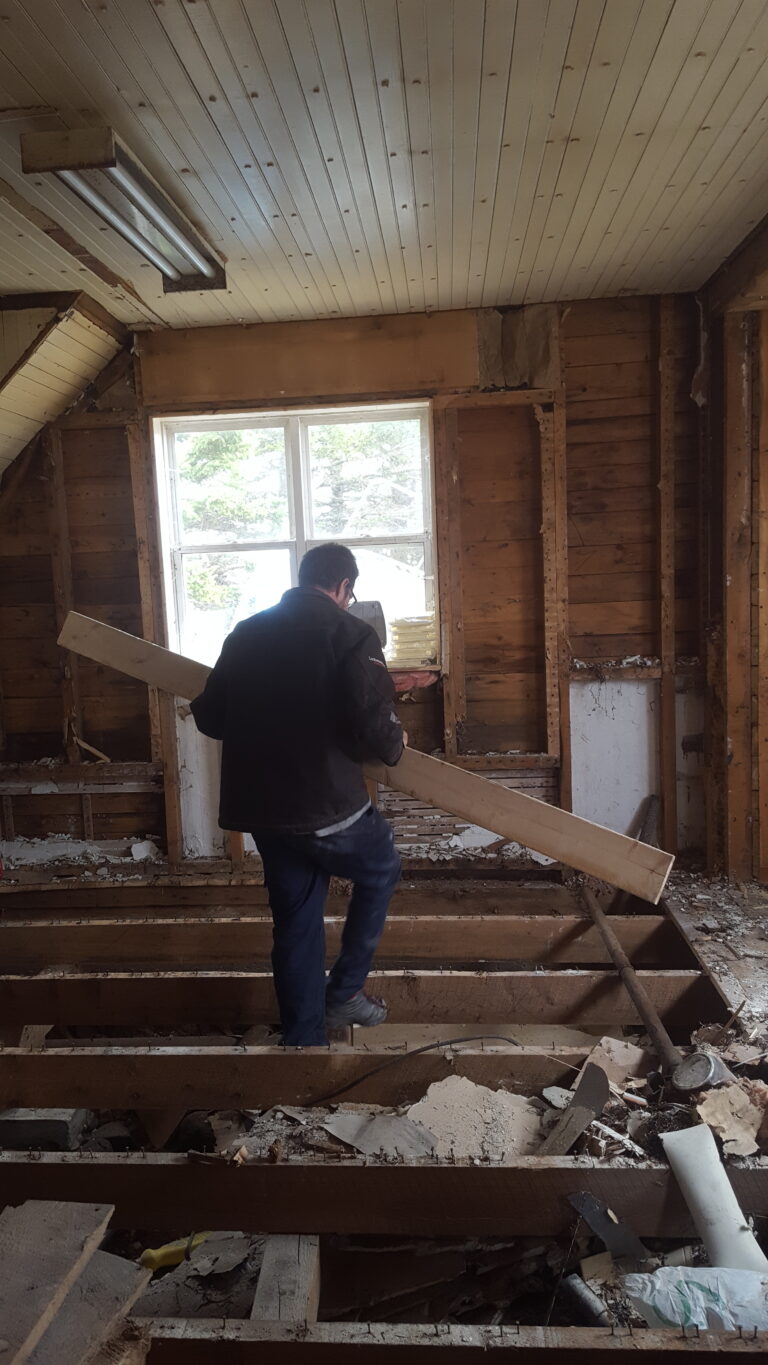
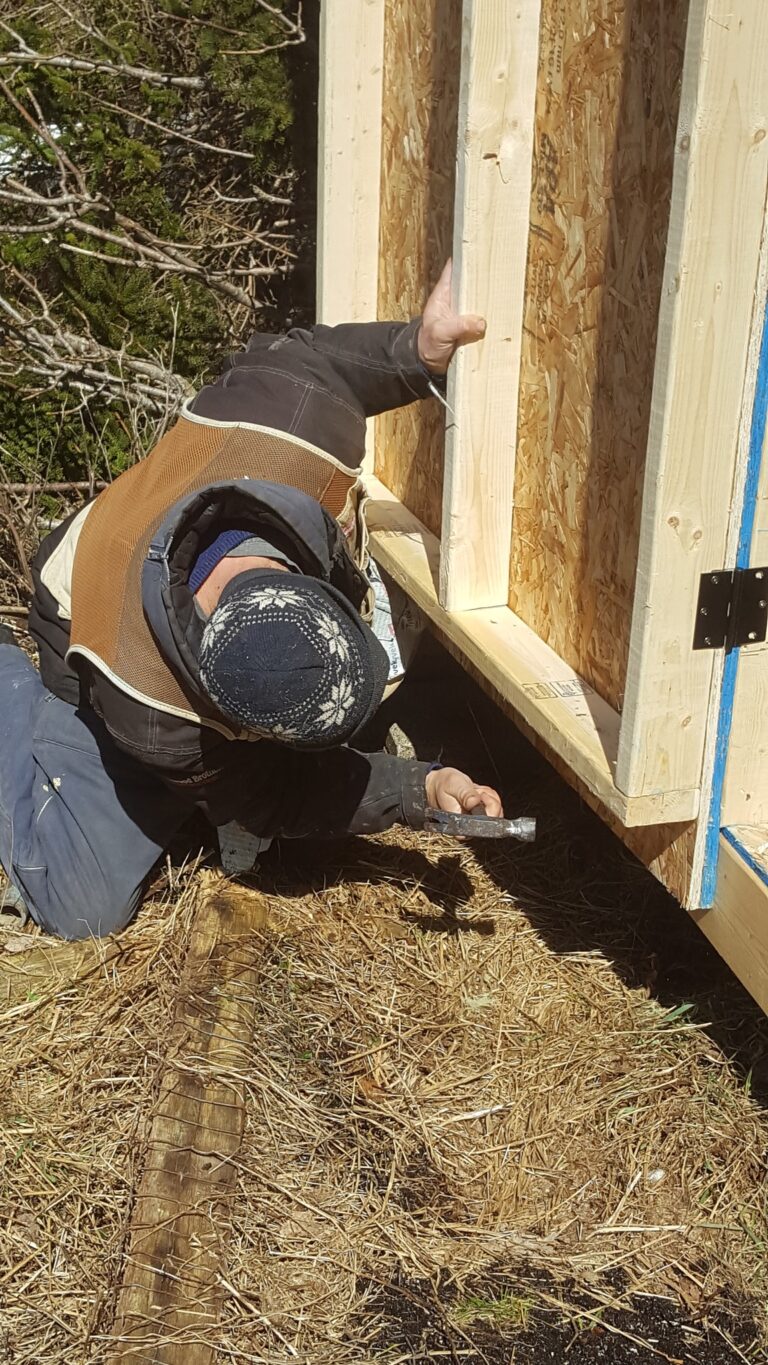
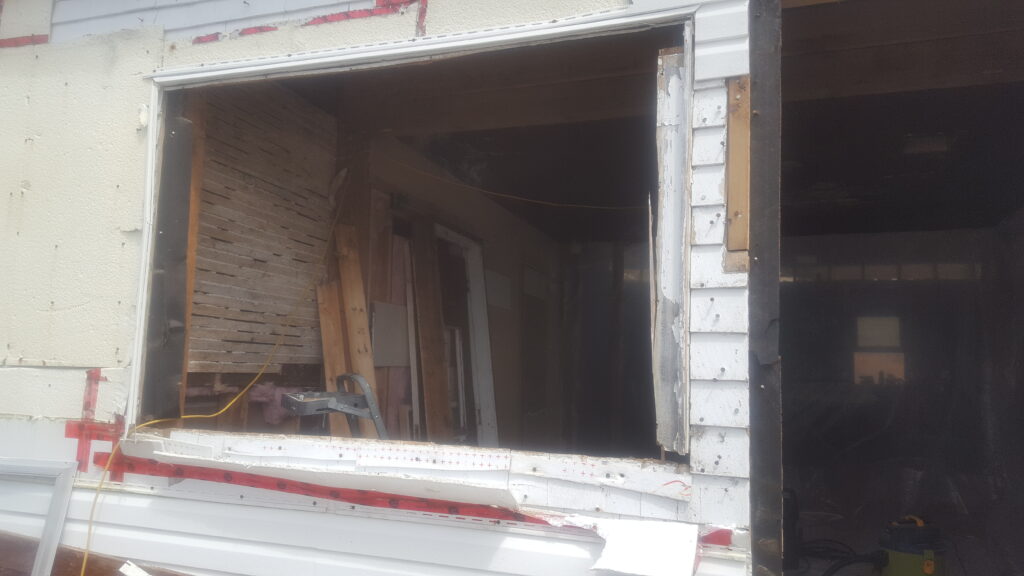
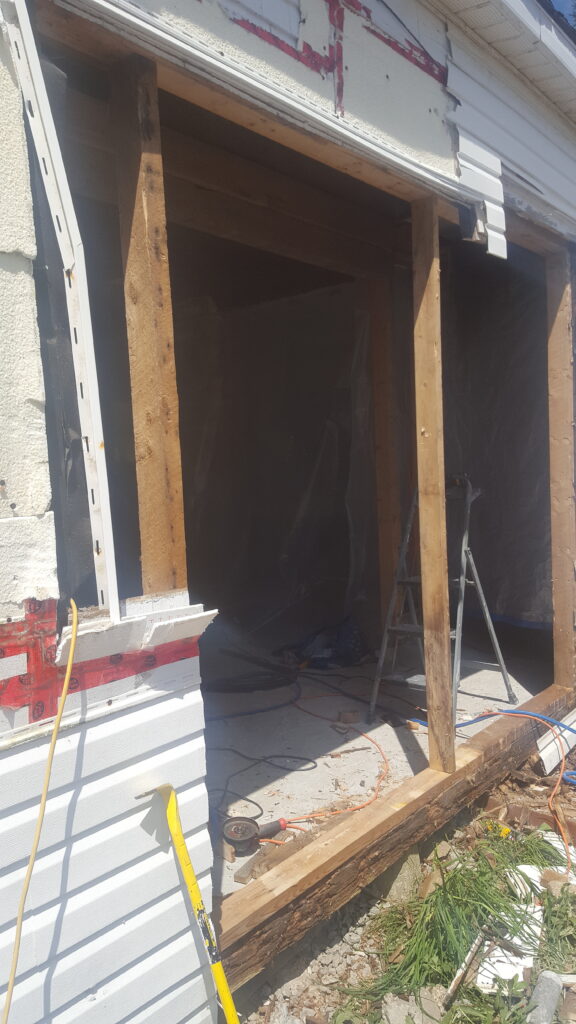
We are so thankful for the wonderful sunny days we’ve had this past week. The weather has been perfect for opening walls to install the two large front windows we had prepared the day before. Michiel framed the two large openings first thing that morning. Before the evening began, both windows had been installed!
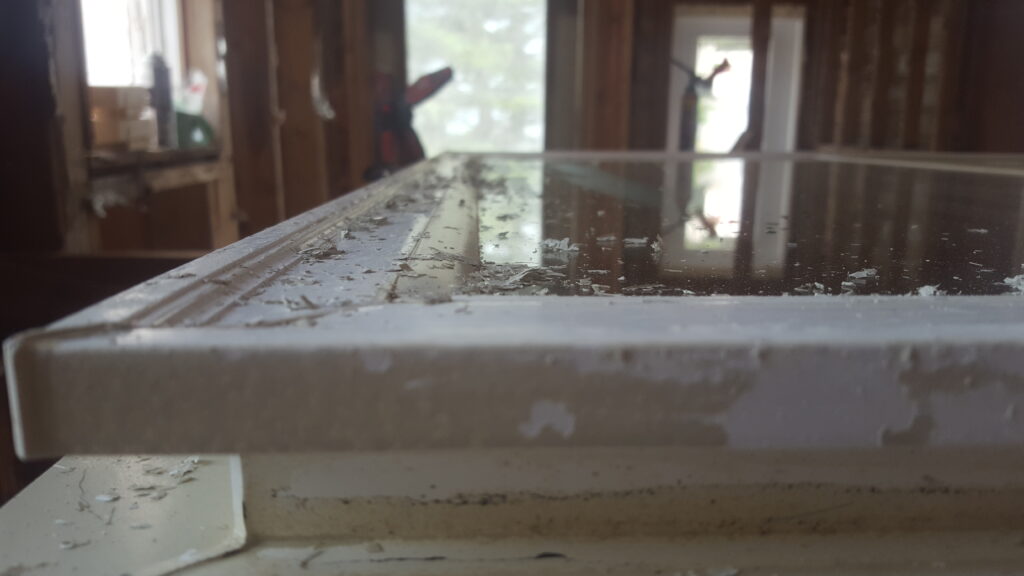
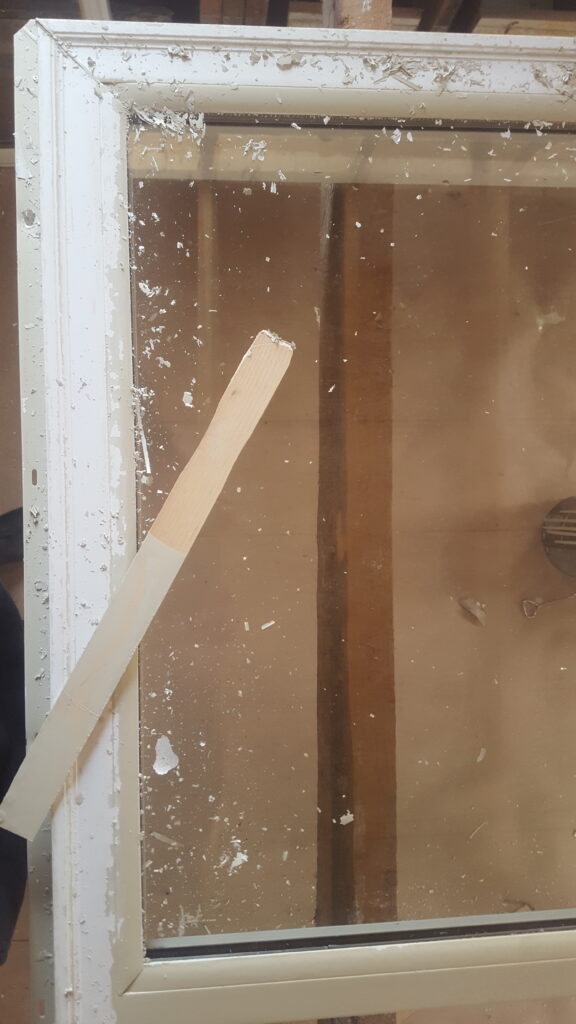
We did however, ran into the unfortunate circumstance where we noticed that the paint did not adhere correctly to the frame the following morning. As I randomly went to examine the new windows, I noticed the beige paint peeling off of the vinyl frame. It was damp where the colour had come off, so I imagined that perhaps the rain or dew had soaked into the paint. But, the paint should withstand dampness even after a day or so of drying.
It’s possible that the window frames were not completely dry before we started priming. It is also possible that there was some residue left on the frames, which unfortunately would hinder the primer from properly adhering to the frame. Whichever was the case, we decided to repaint the windows. We headed back to the store to pick up a bottle of rubbing alcohol so we could do a thorough cleaning of the frames before proceeding with our second attempt.
Not cleaning the frames properly is most likely the step we missed in this process. I remember that last year’s window painting was a success. Opa and Oma most likely cleaned the frames first — we were not there to witness this step and, therefore had forgotten to include this step.
It was a mundane job scraping the colour and primer off the frames. However, having a little helper to come along to do the job made it that much more exciting! Our youngest was very gun ho about this task.
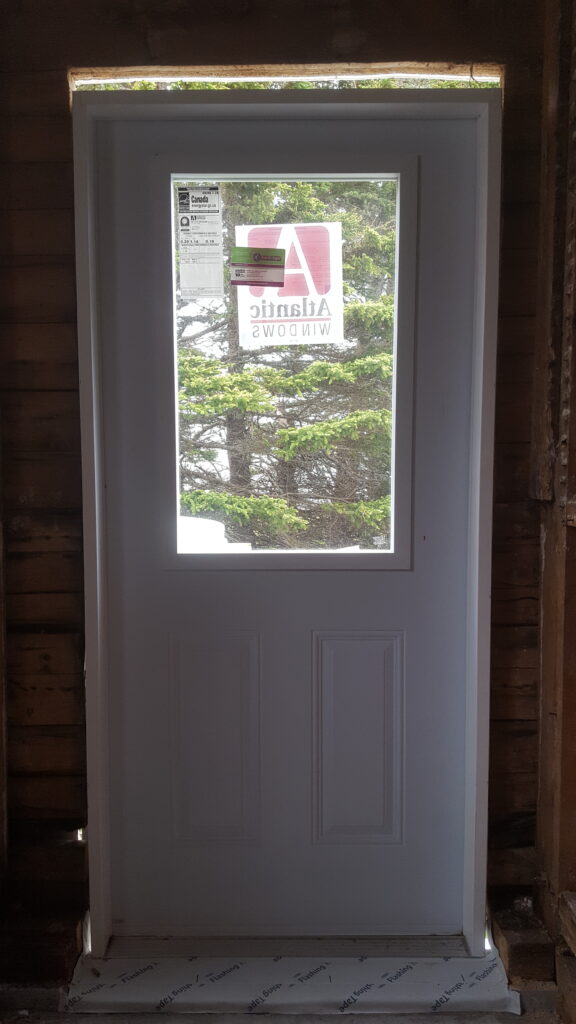
Some time in between pouring the concrete floors and painting windows, I’d forgotten to share that Michiel had installed a new door into our mudroom (or porch, as is the familiar term here)! There is yet to be a doorknob installed, but since we do have an existing door to access this side of the home, Michiel decided to have the knob installed a little later.
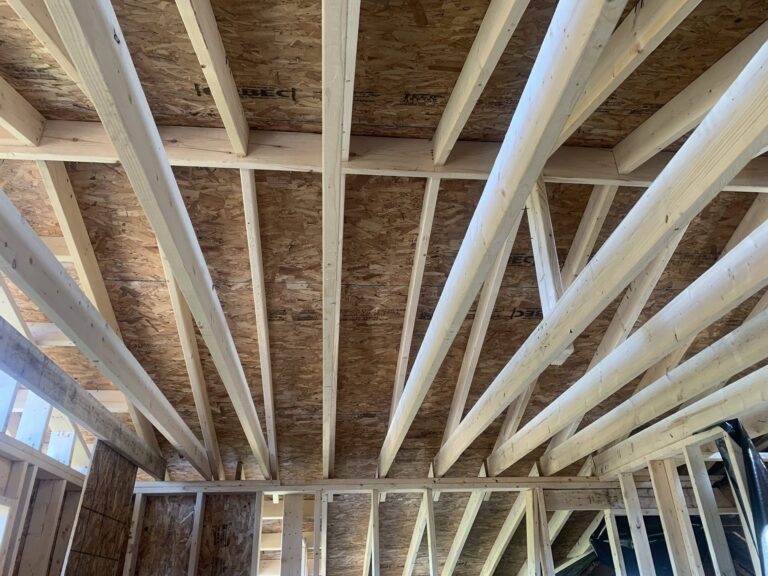
We hope you are enjoying our most recent house renovation adventure updates! Even though we are pushing hard for progress to be made — and some days can seem like we are moving at a snail’s pace, we do see changes happening. We are very much looking forward to the next big step, which involves building coffered ceilings, and installing FOUR MORE large windows in our home!
Thank you for following our family’s home renovation journey!
We hope you have a wonderful evening. Good night and sweet dreams to our dear friends and family!